Rudder – Priming

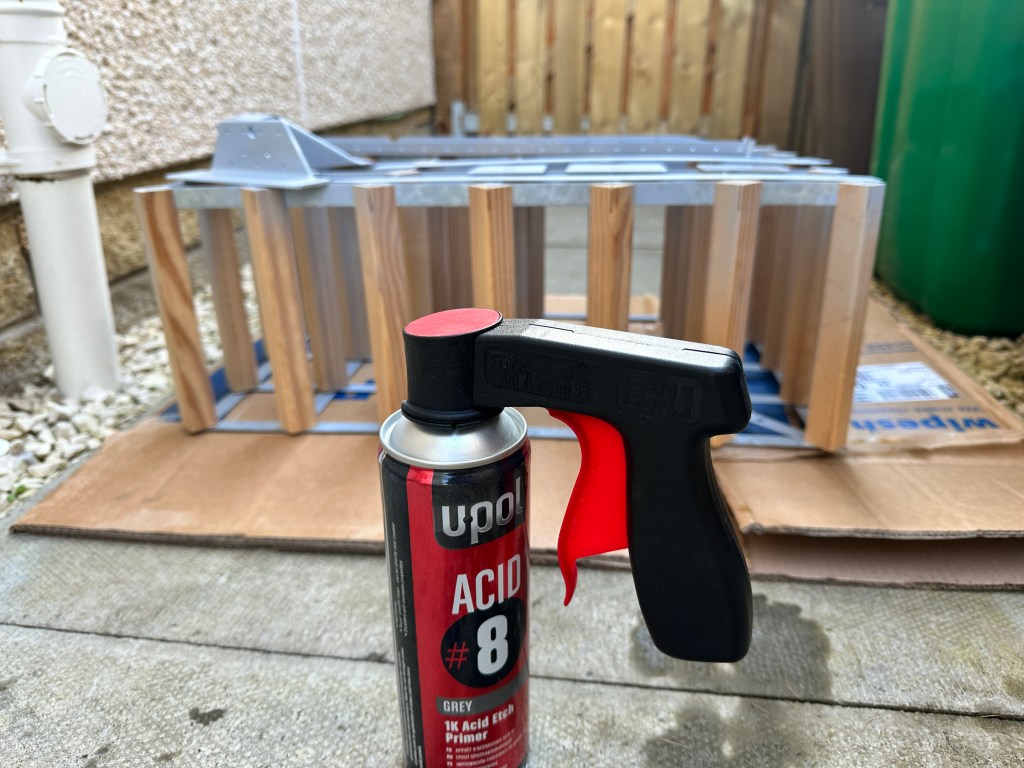
Started priming the rudder parts today. I have decided to use Upol Acid #8 in rattle cans for priming. I have a previous post where I compared a few, and this was by far the one I liked the most.

Nothing fancier than this old wine rack that my wife was about to throw out when I gave it this new lease on life! Protecting the slabs with cardboard in the garden, but I did buy a paint tent, so I will need to give that a try – but this kept things simple!

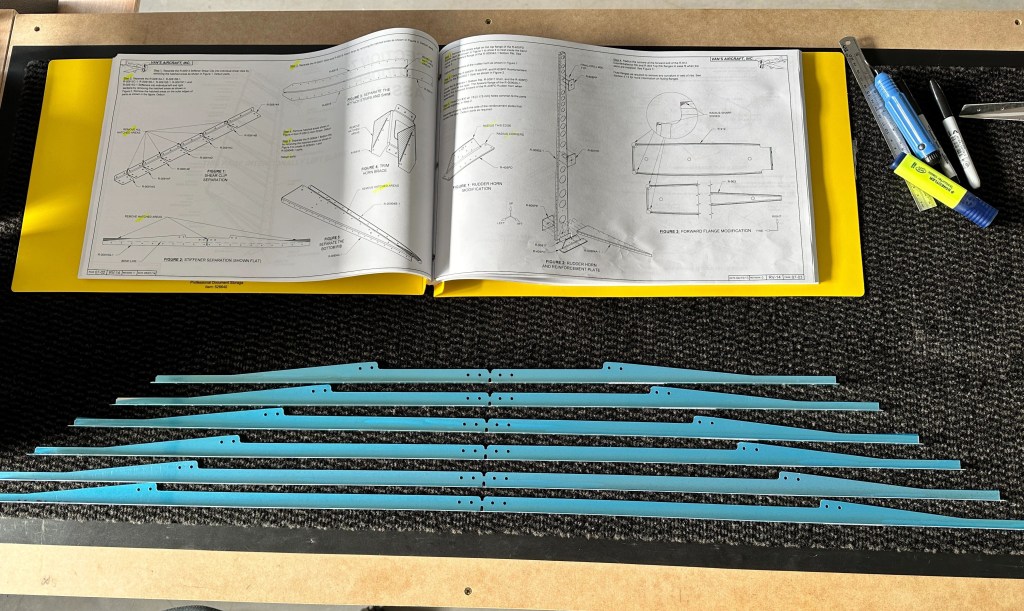
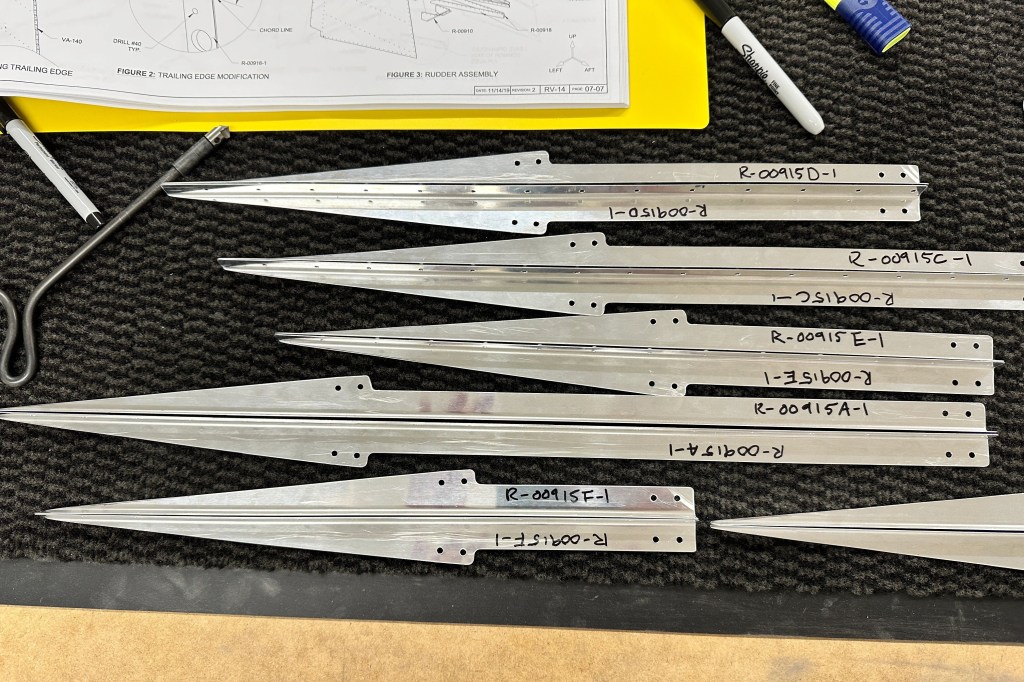
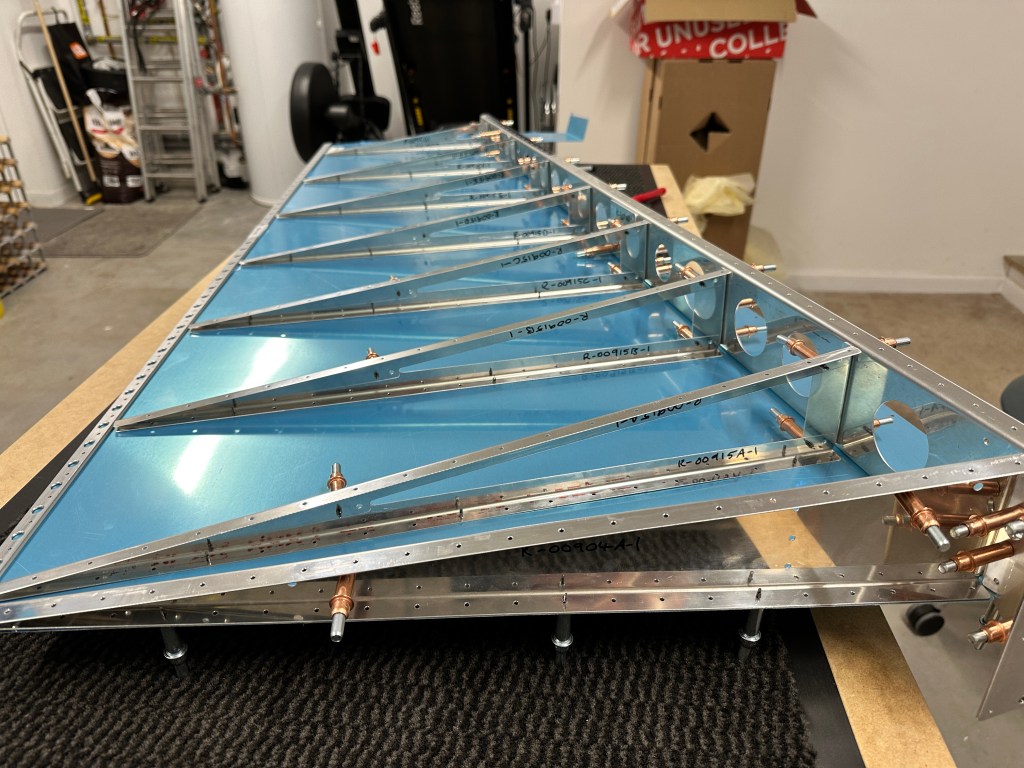
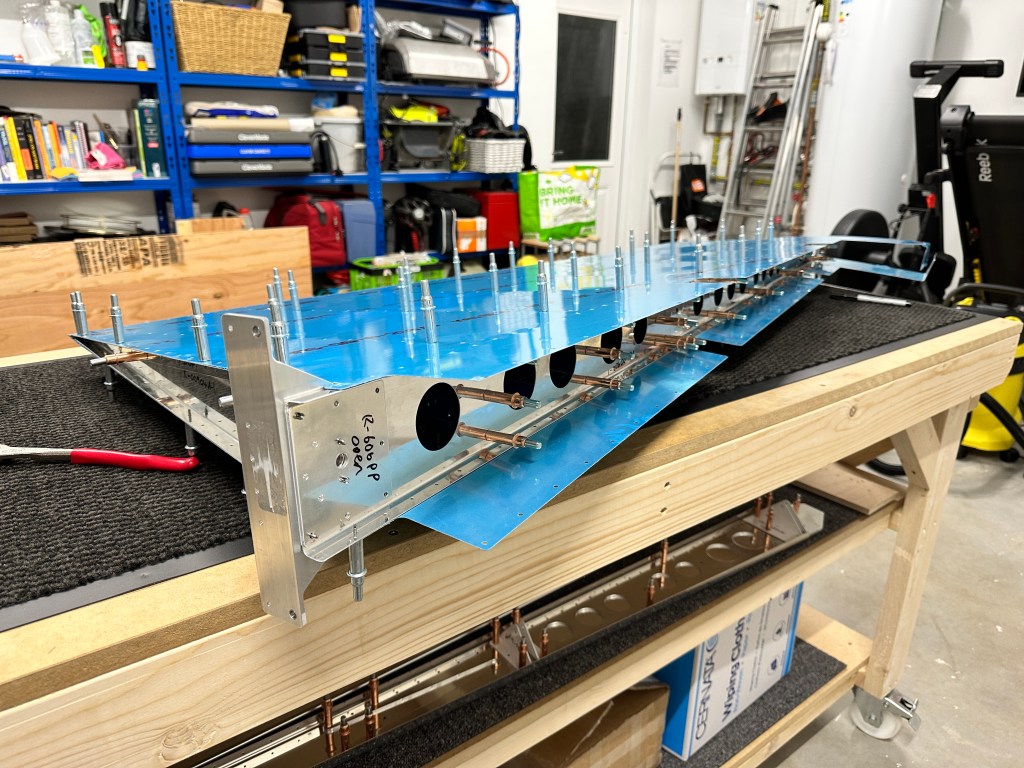
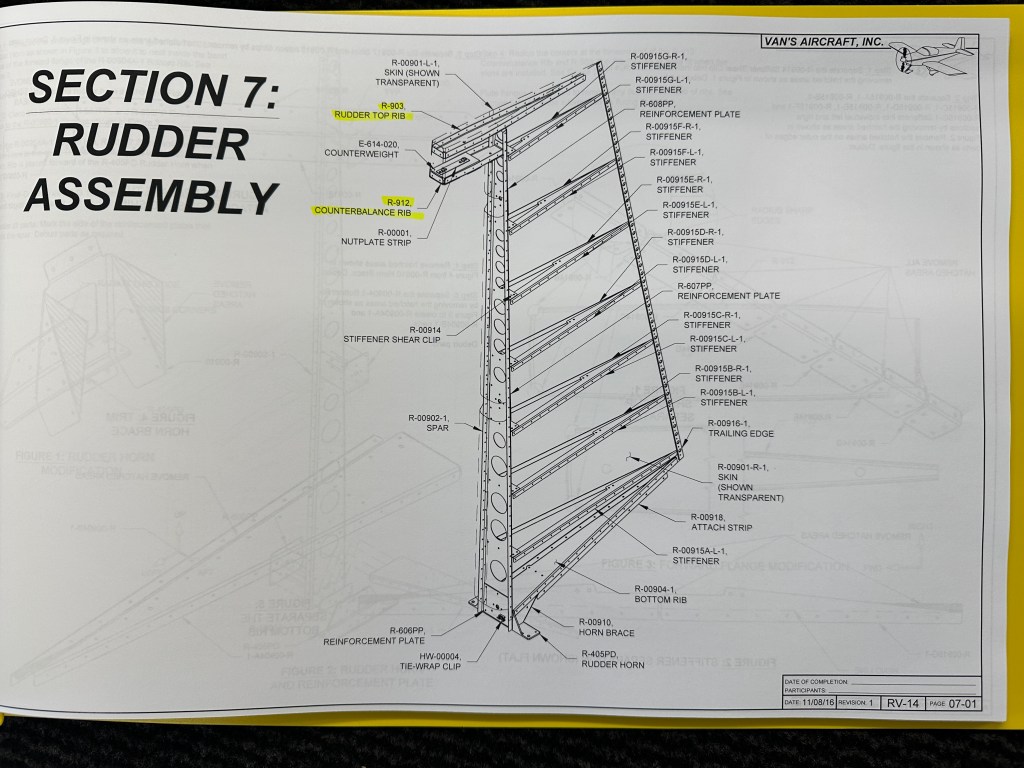
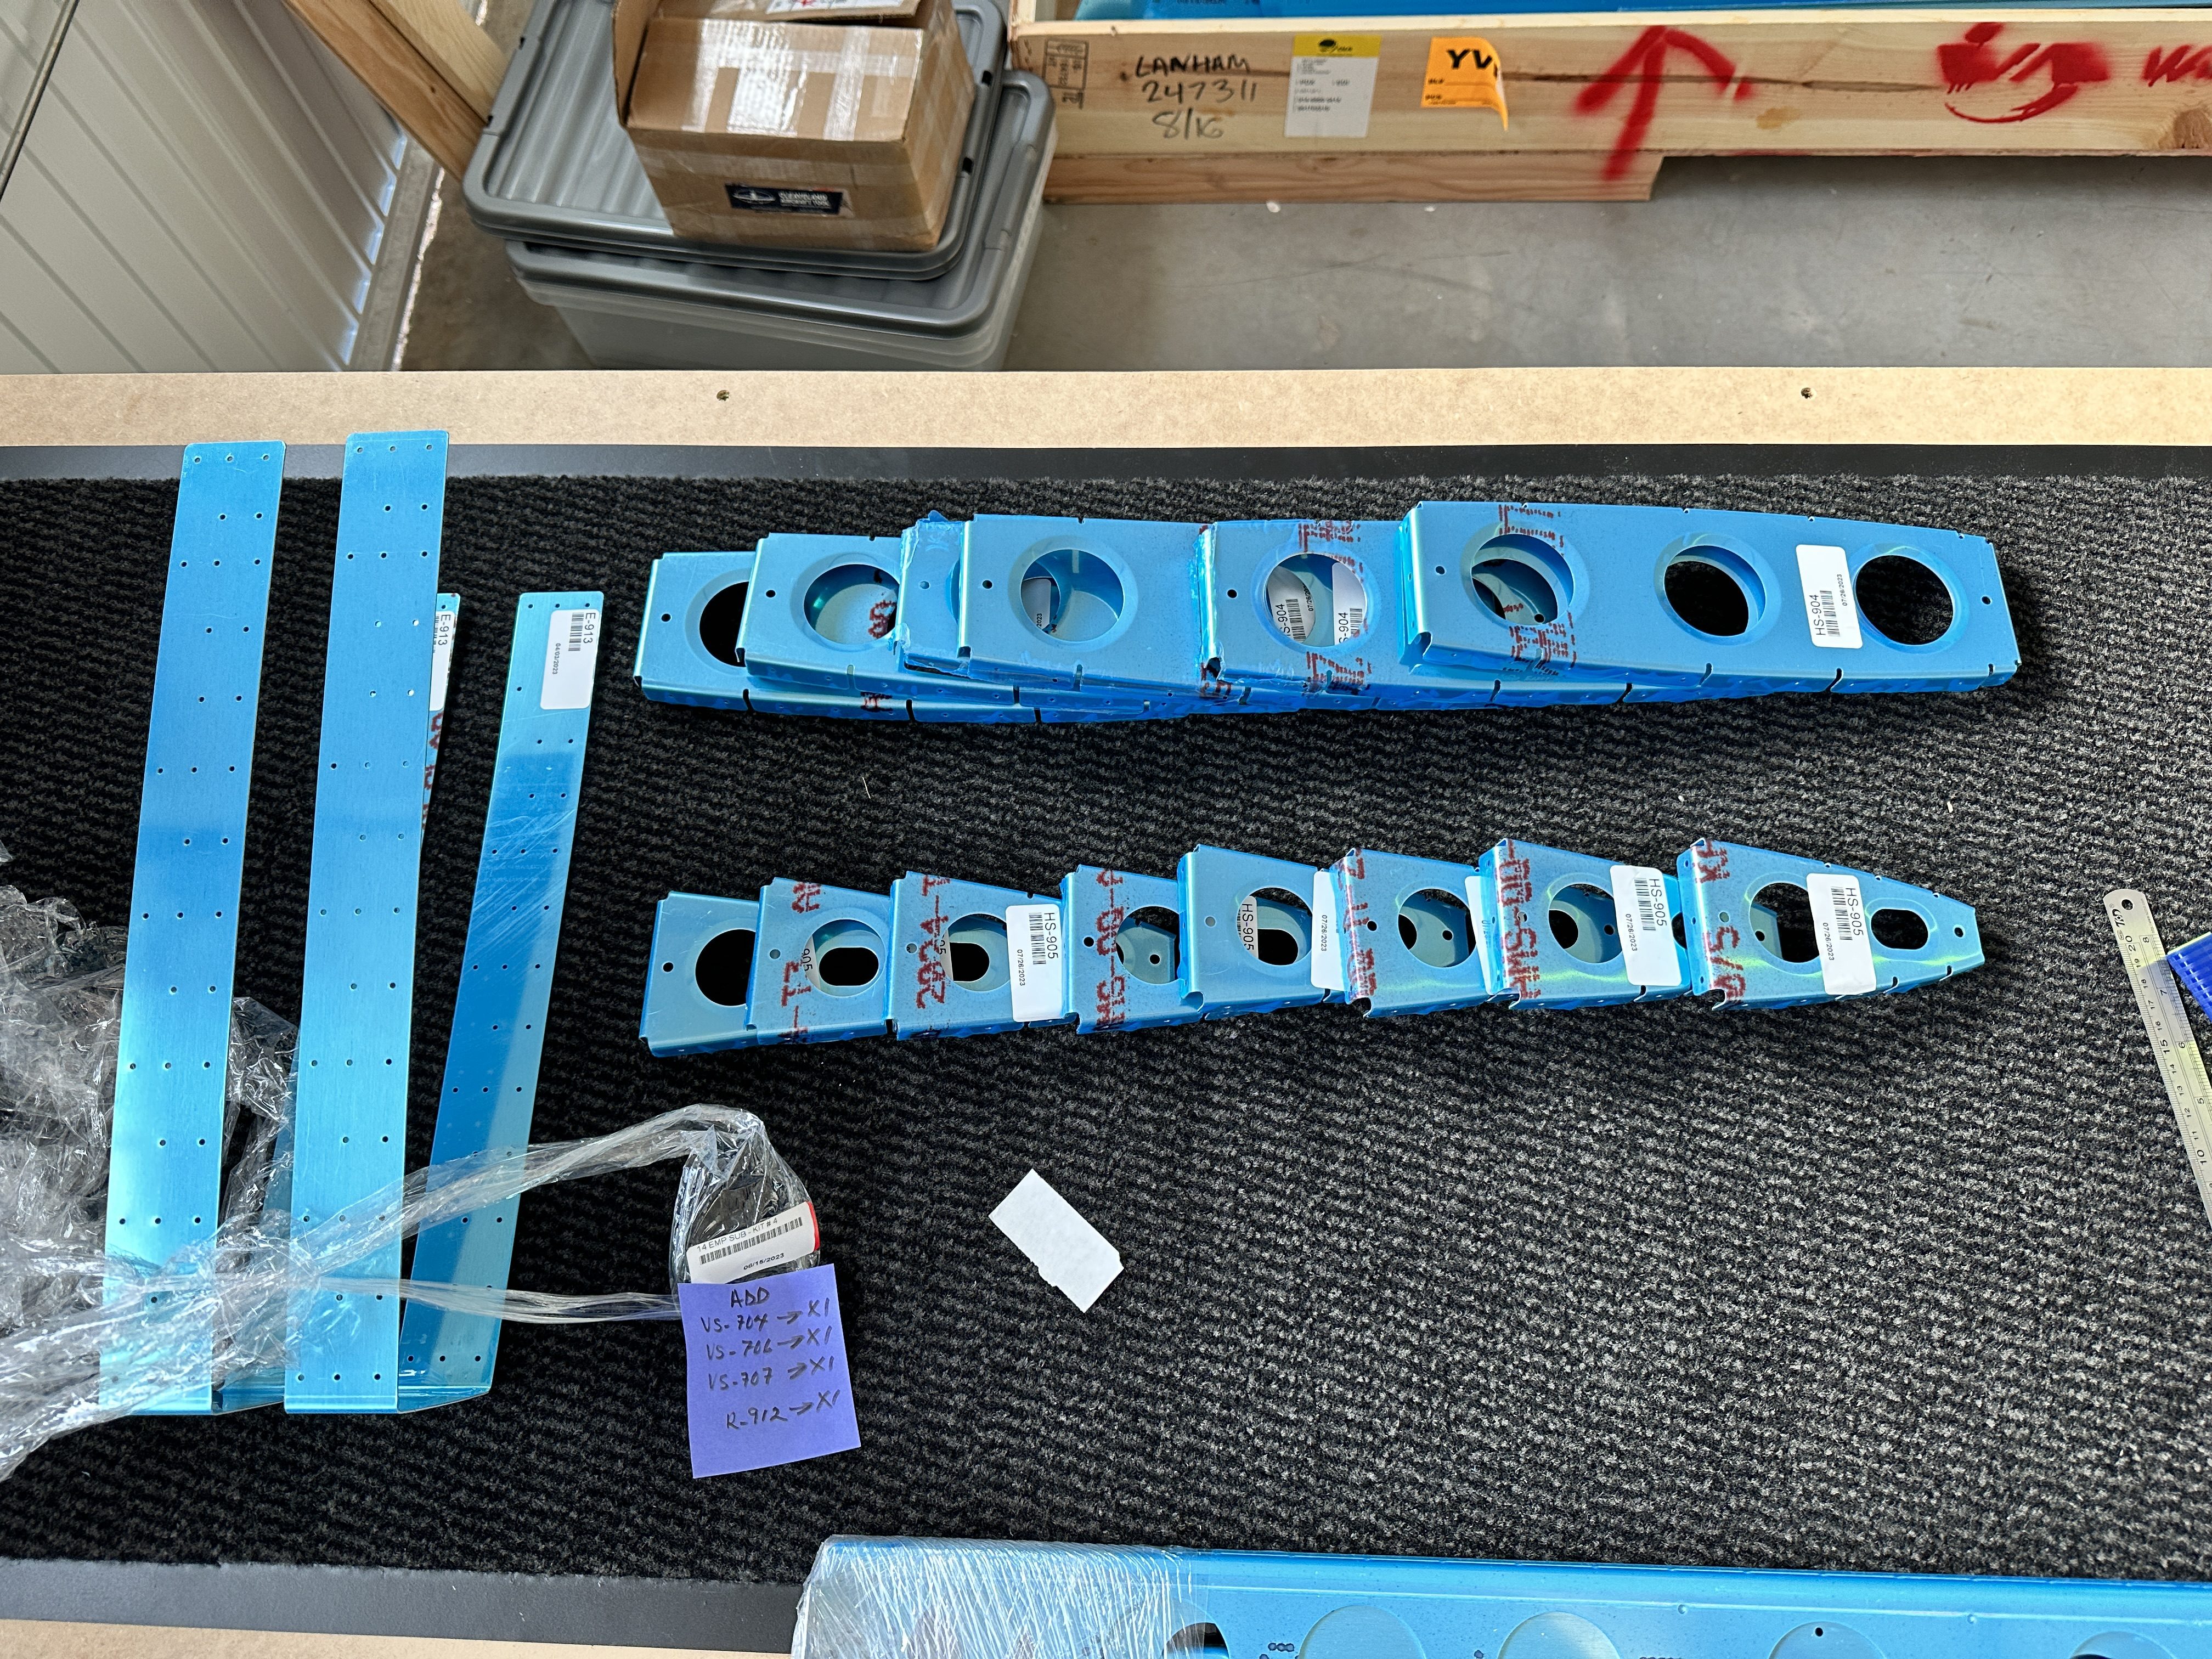
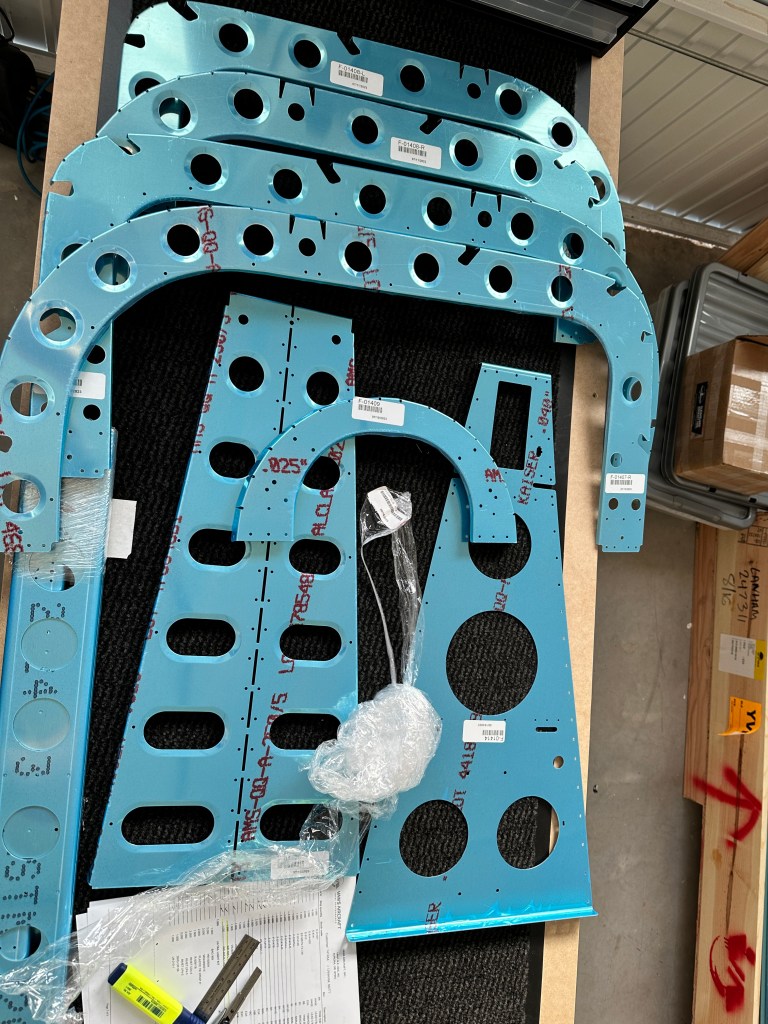
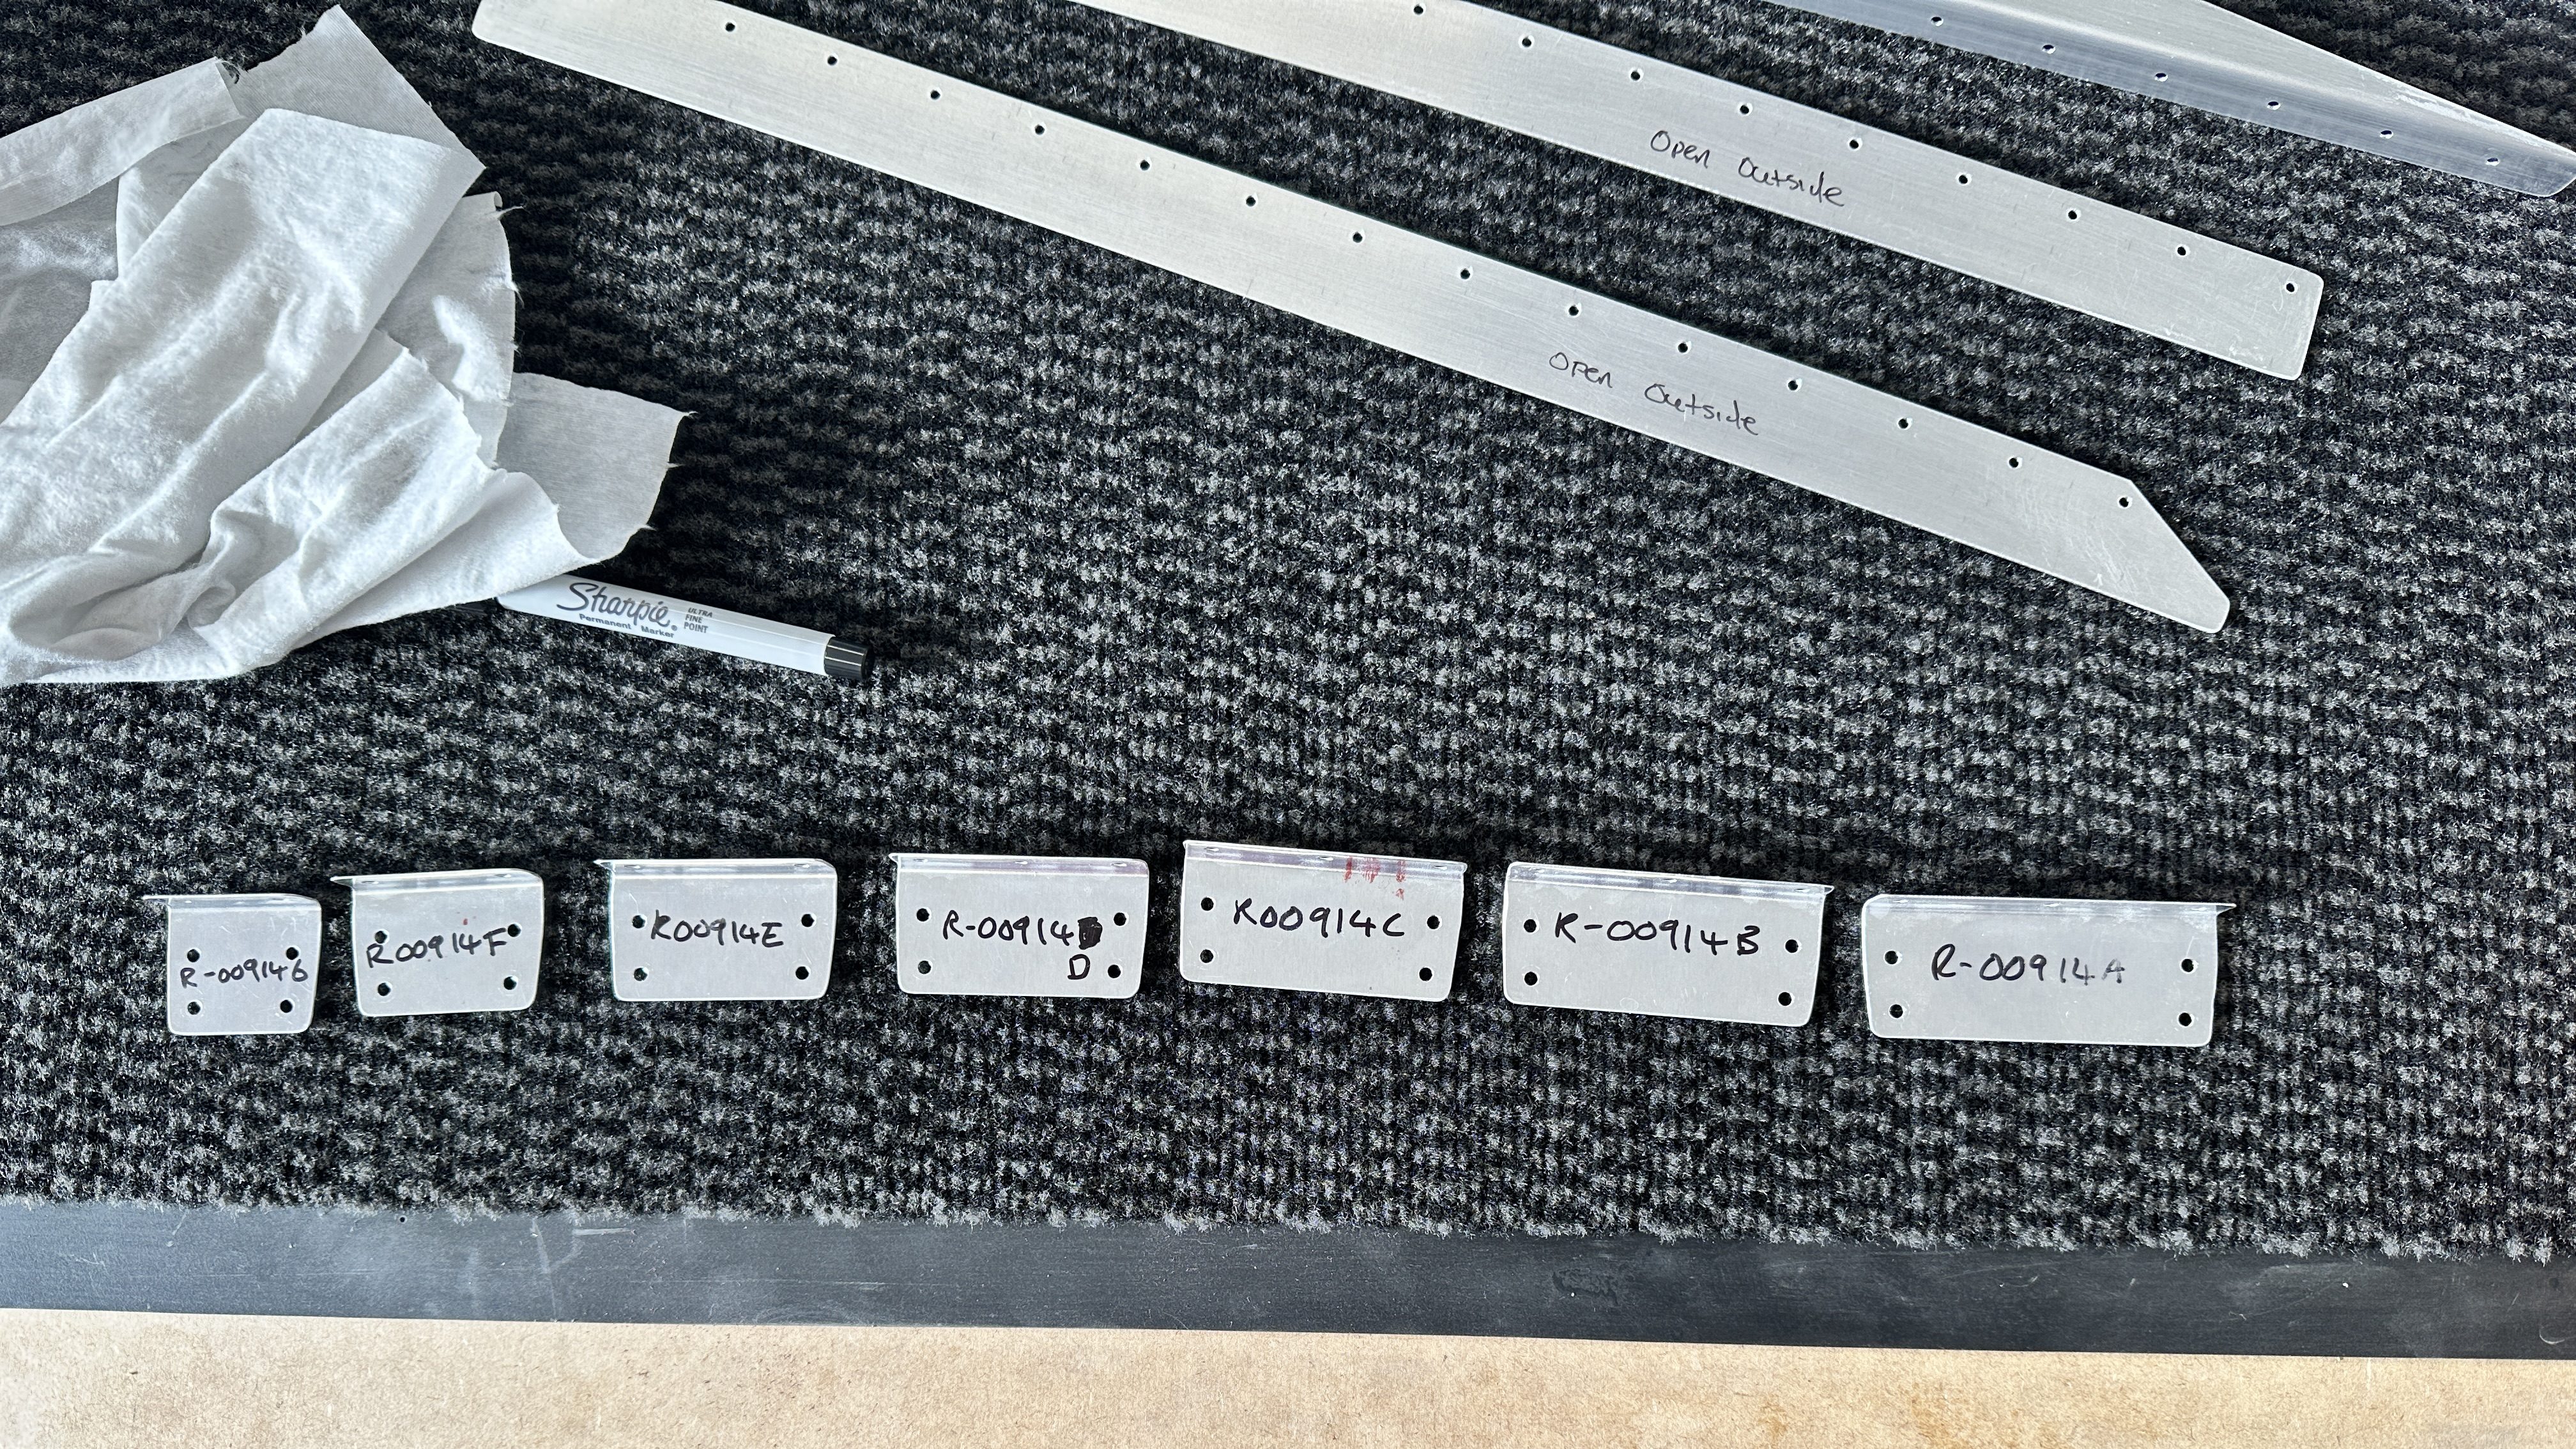
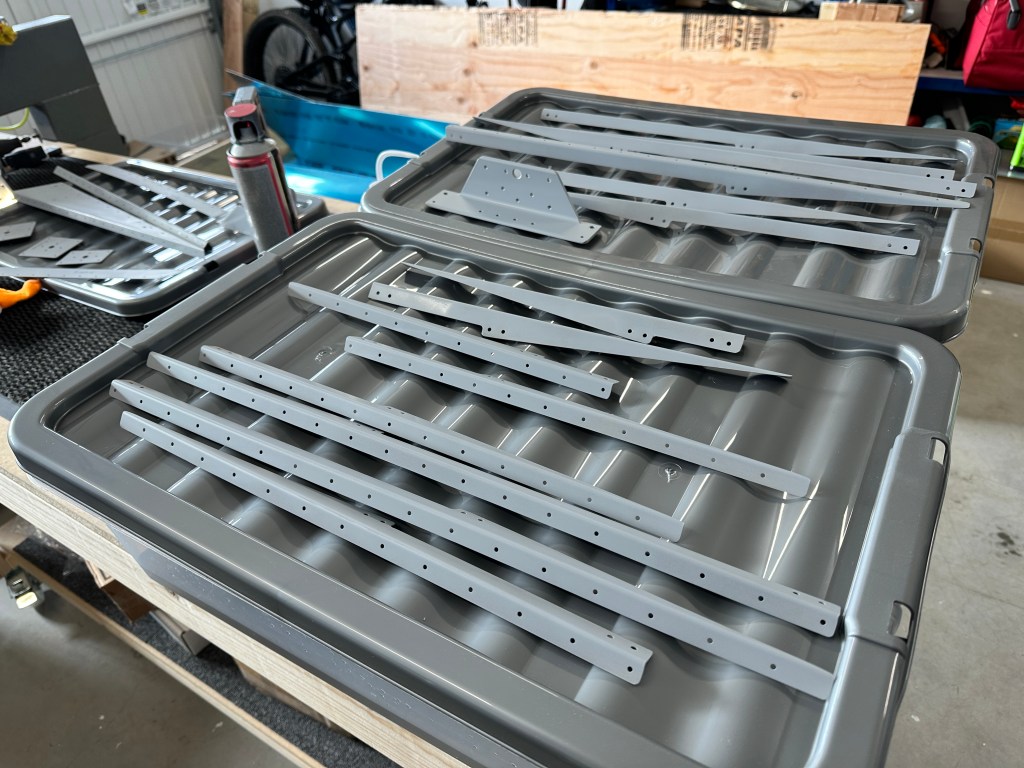
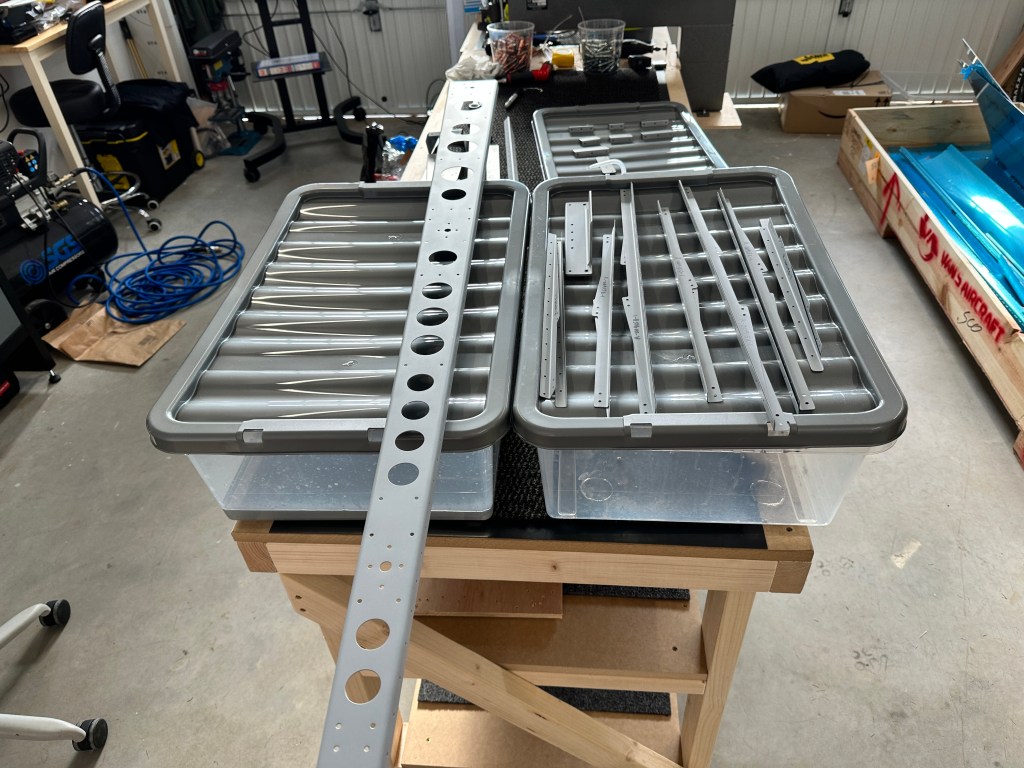
Before I started degreasing & priming, I took the time to take photos of the parts and ensure that I re-added the part numbers afterward – I didn’t want to end up with a load of parts I couldn’t identify!

When I was considering using the Stewart Systems primer, I purchased a kit and ended up with some leftover EkoClean. Therefore, I decided to utilize it to clean the parts using a Scotch-Brite pad. Afterward, I used water and dried everything with a combination of a microfiber cloth and non-linting wipes.

Then onto priming, is it weird that I really like the color of this primer? It’s obviously not going to matter as it’ll be internal – but still, nice grey color, may use this or similar for the cockpit!

Seem to have used most of the rattle can for these parts and that didn’t include the skins so that feels like a lot? Will keep an eye on things as I progress and maybe I’ll consider trying the spray gun again to see if it’s easier to use with Upol than it was with other variants.

Rudder – Prep

Whilst there are 2 missing ribs, I decided to crack on with getting everything else prepared for the rudder.

I started out with the stiffeners which need to be split and also material removed from the ends. I used a metal ruler and a sharpie to mark the angle.

I then used the bandsaw to split them into left and right stiffeners. On the first one I removed the excess material solely using a Scotch Brite wheel on the bench grinder, which worked but created a lot of dust!

After talking to some other builders it turns out the removing most of the excess with the band saw and then finalising it with the bench grinder works better.

I then moved on to preparing the other parts, splitting them and deburring – I am finding that the Scotch Brite wheel then 600 grit Emory cloth is working really well.

Next, I was able to test fit things together, and even put the skins on which give me the chance to take a photo with the rudder!

Empennage – Backordered parts

My empennage kit has arrived with a number of parts on backorder due to the laser cut parts issue. Every area, other than the Horizontal Stabilizer has missing parts which will impact being able to fully complete them.

I went through the main pages of the plans just to highlight what was missing (where I could find it listed) just so I had an idea of where I should start.

Hopefully those parts will start coming out soon, there’s only 2 things missing for the rudder for example, so it’d be nice to get them – but I’ll make a start elsewhere!

Empennage – Inventory

The empennage kit has arrived!! It’s quite impressive to think that it only took a few days to get from the Vans factory to my home in Scotland!

There was an intense moment when the delivery company had an issue with their truck, but luckily they managed to source another and deliver it just a couple of hours after the initially suggested.

With the help of a Neighbour and my son-in-law (and my grandson overseeing things) we offloaded the crate. It was actually lighter than we were all expecting, especially as the weight was noted as 115KG – 3 of us made light work of it, I suspect 2 would have been enough!

My grandson overseeing the delivery

I wasted no time in opening the box, which introduced the first challenge of getting the steel straps off! In the end I used a Dremel to cut them as I just had nothing else that was strong enough.

First sighting of blue vinyl

The next 7 hours were spent on the inventory and sorting out the parts into sub-sections such as all the Elevator, Rudder, Horizontal Stabilizer etc so that I could easily find them when I needed them.

With that out the way, the plan is to identify which section I can begin with given there is backordered parts across lots of sections – guess I can probably focus on deburring and priming.